Top Guidelines Of DIY Floating Shelves for Easy Storage - Yellow Brick Home


DIY Wood Floating Shelf - How To Make One
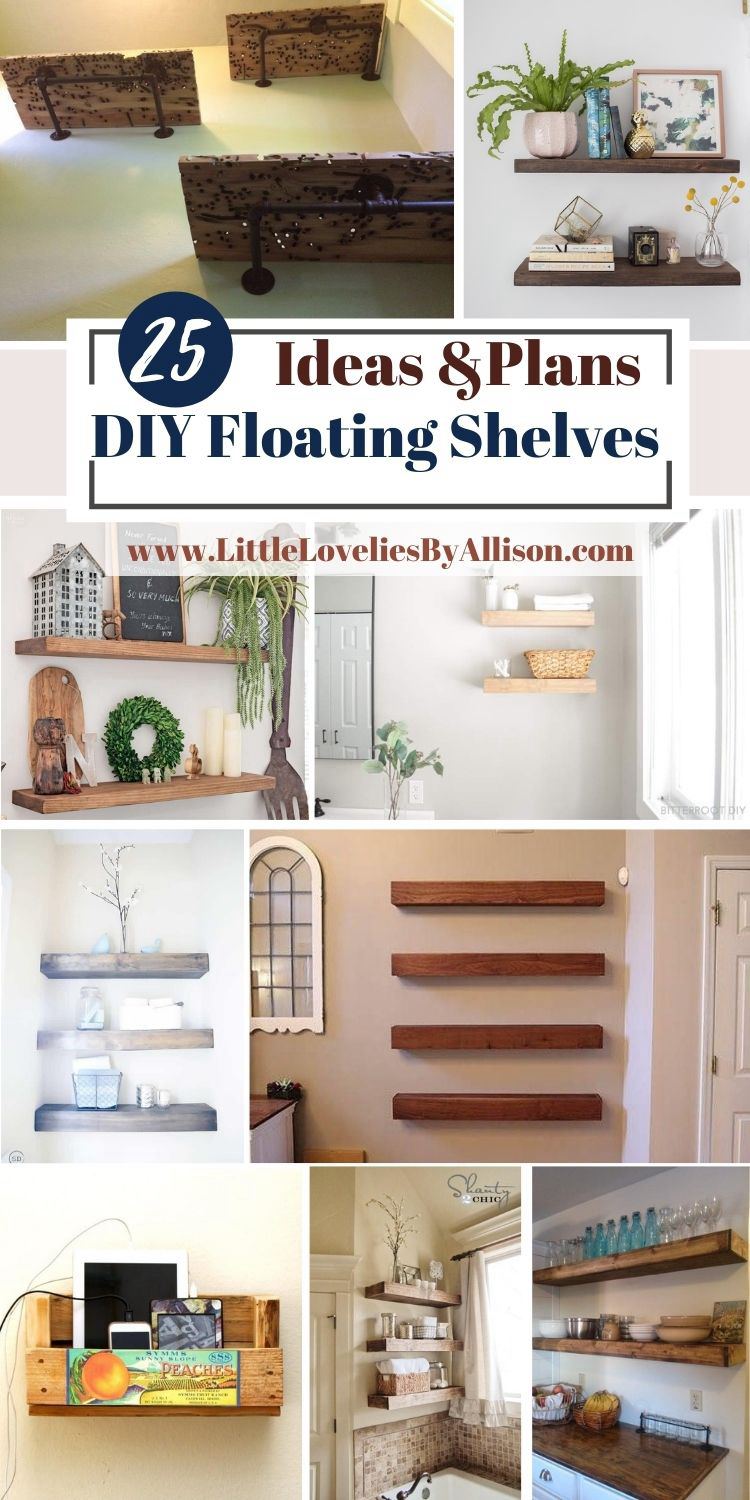
The Definitive Guide to DIY Floating Shelves and Bathroom Update - Thrifty and Chic
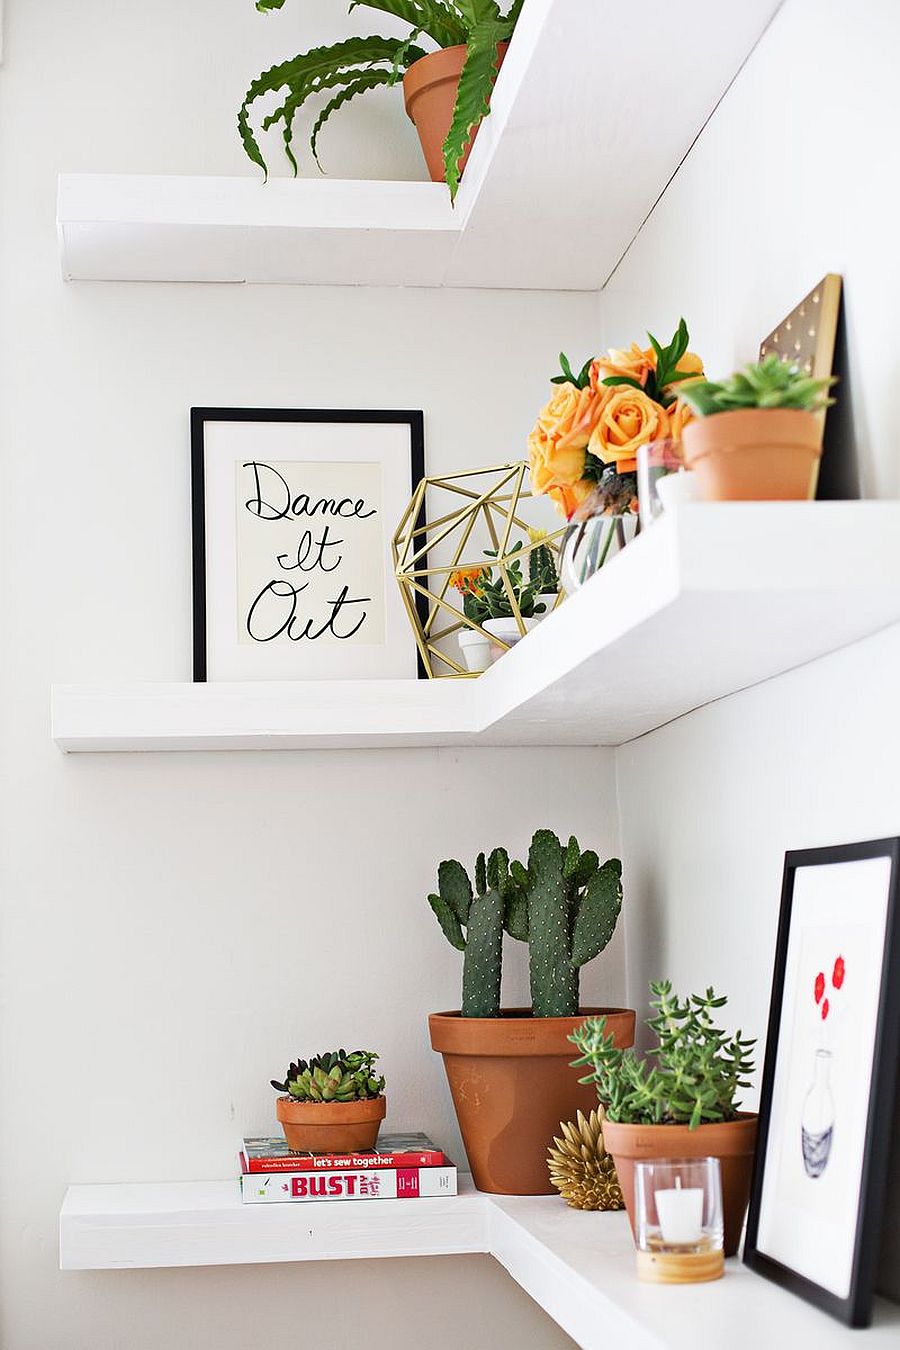
Make your own Easy DIY Floating Shelves in about an hour! This simple woodworking job consists of Free plans and a video tutorial. This easy tutorial will reveal you how to develop these easy do it yourself drifting shelves. Simply follow A Reliable Source and how-to video by! I lastly put usage to a blank wall I have actually been looking at in my bathroom for far too long.
I likewise wanted them to be incredibly durable in case a specific 2 year old chooses to use them as a ladder. It will happen. This style does both! Easy Do It Yourself Floating Shelves Tutorial and Plans This is a great beginner job Really simple cuts and assembly! Let's start! Materials 1 1 x 10 x 8 pine boards or common boards2 2 x 3 x 8 pine boards or typical boards1/4 wood plywood product I bought a 4 x 4 sheet and had House Depot rip mine into 9.

Easy DIY FLOATING SHELVES No bracket - DIY CREATORS - YouTube
3 1 x 4 x 6 pine boards or typical boardsbrad nailer2. 5 pocket hole screws3. 5 torx or wood screws Tools: The expense of wood for all 3 shelves was around $45 making these bad kids $15 a piece for wood Yup. I like them even more now. Action 1: Cut the Lumber Start by making your cuts.
How We Built a Floating Shelf - Making Nice in the Midwest - Truths
The back of the frame that is connected to your wall will be a 23 cut at 32. Then, each shelf will have 3 brackets that are each 7. 75 long. Action 2: Drill Pocket Holes I utilized my Kreg Jig pocket hole jig to add 1. 5 pocket holes on one end of each of the brackets.
It will make your jobs so much simpler to put together and also make them much stronger. If you are using the K3 or K4 design today, I totally suggest examining out the K5. I just upgraded to that one and LOVE everything about it! Best thing ever.
5 pocket hole screws. I did include some Gorilla wood glue to each of the pieces of wood too to make it extra strong. Step 4: Installing the Rack Assistance to the Wall That's it for the frames! Now to bring them inside and connect them to your wall.